Materials:
WW yarn in two colors
H hook
Carabiner
Back + Flap: with 1st color, ch26

Row 1: Sc in 2nd ch from hook and each across, ch 1, turn(25).
Row 2-24: Sc in each sc across, ch 1, turn(25)
Row 25: Dec, sc to last 2 sc, dec, ch 1, turn(23)
Row 26: Sc in each sc across, ch 1, turn(23)
Row 27: Repeat Row 25(21)
Row 28: Repeat Row 26(21)
Row 29: Repeat Row 25(19)
Row 30: Repeat Row 26(19)
Row 31: Repeat Row 25(17)
Row 32: Repeat Row 26(17)
Row 33: Repeat Row 25(15)
Row 34: Repeat Row 26(15) F/O, set aside for now.
Front: with 1st color, ch 26


Row 1-18: Repeat Rows 1-18 of Back + Flap, F/O, set aside for now.
Side: with 1st or 2nd color, ch 5

Row 1: Sc in 2nd ch from hook and each across, ch 1, turn(4)
Row 2-61: Sc in each sc across, ch 1, turn(4) F/O if working with 1st color. If working with 2nd color, ch 1, and move on to Border/Putting it Together
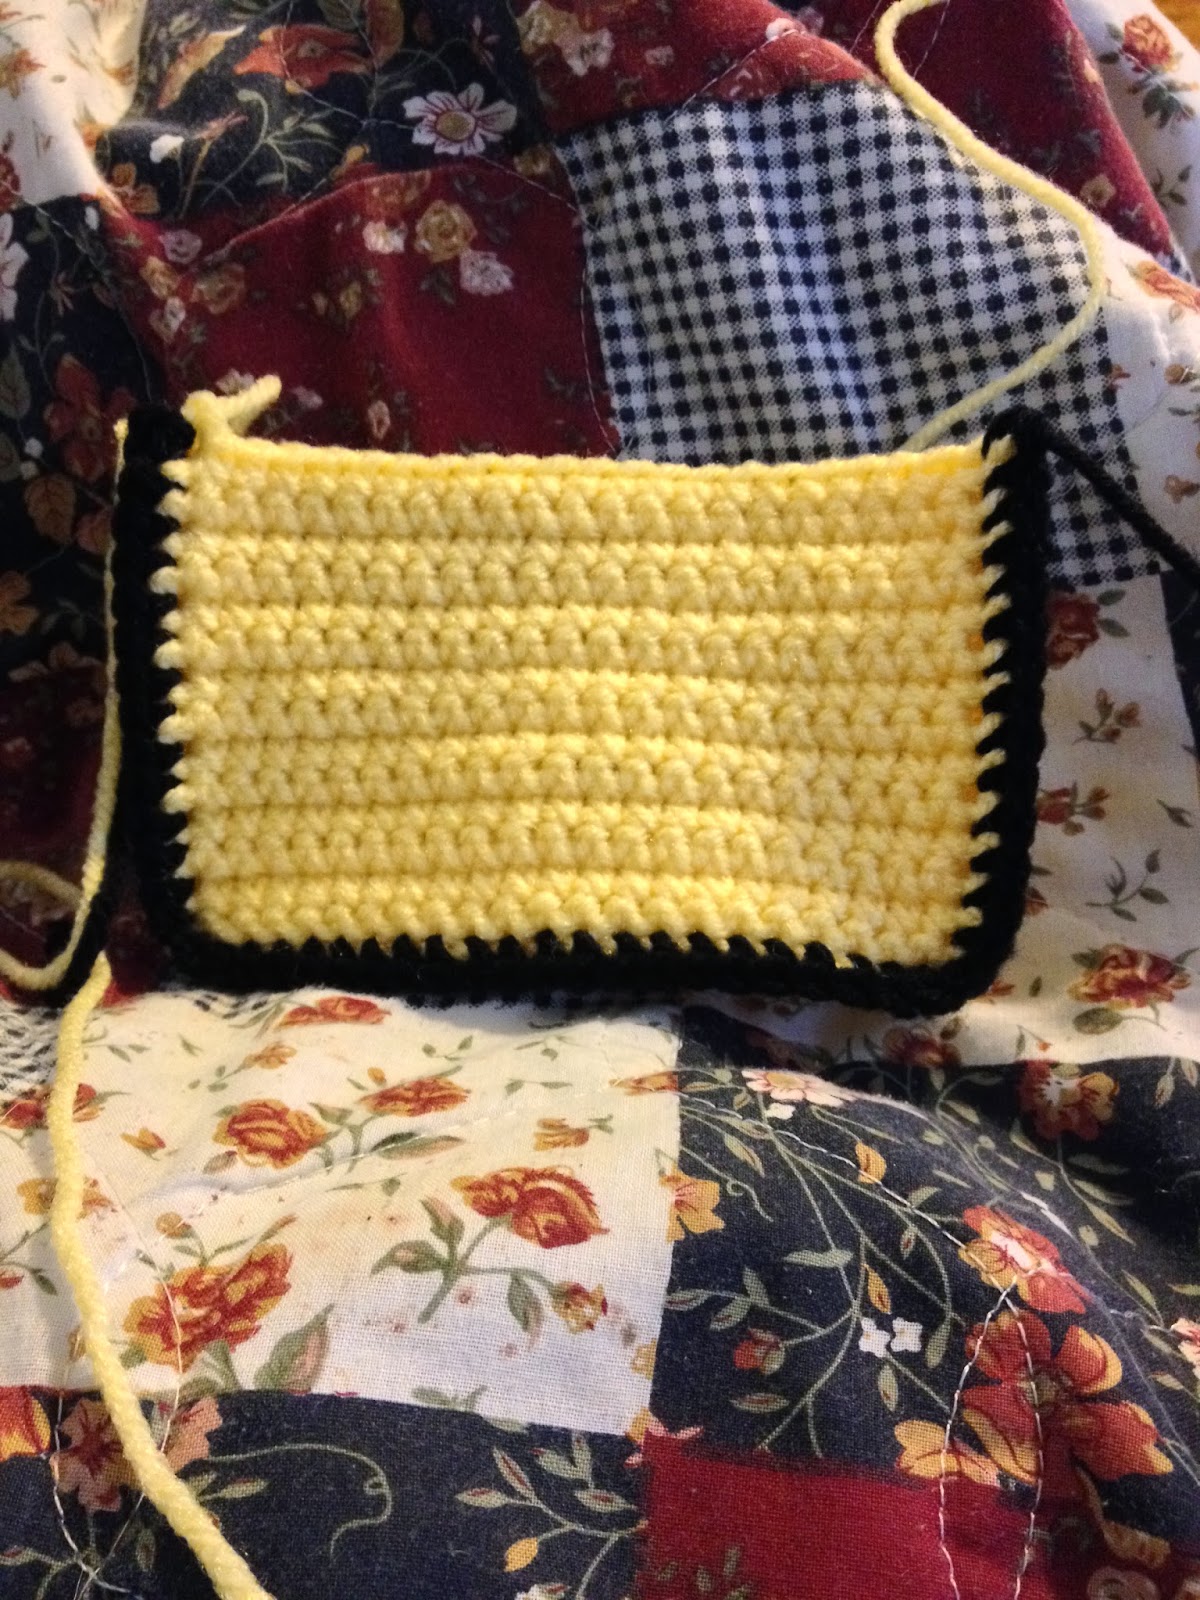
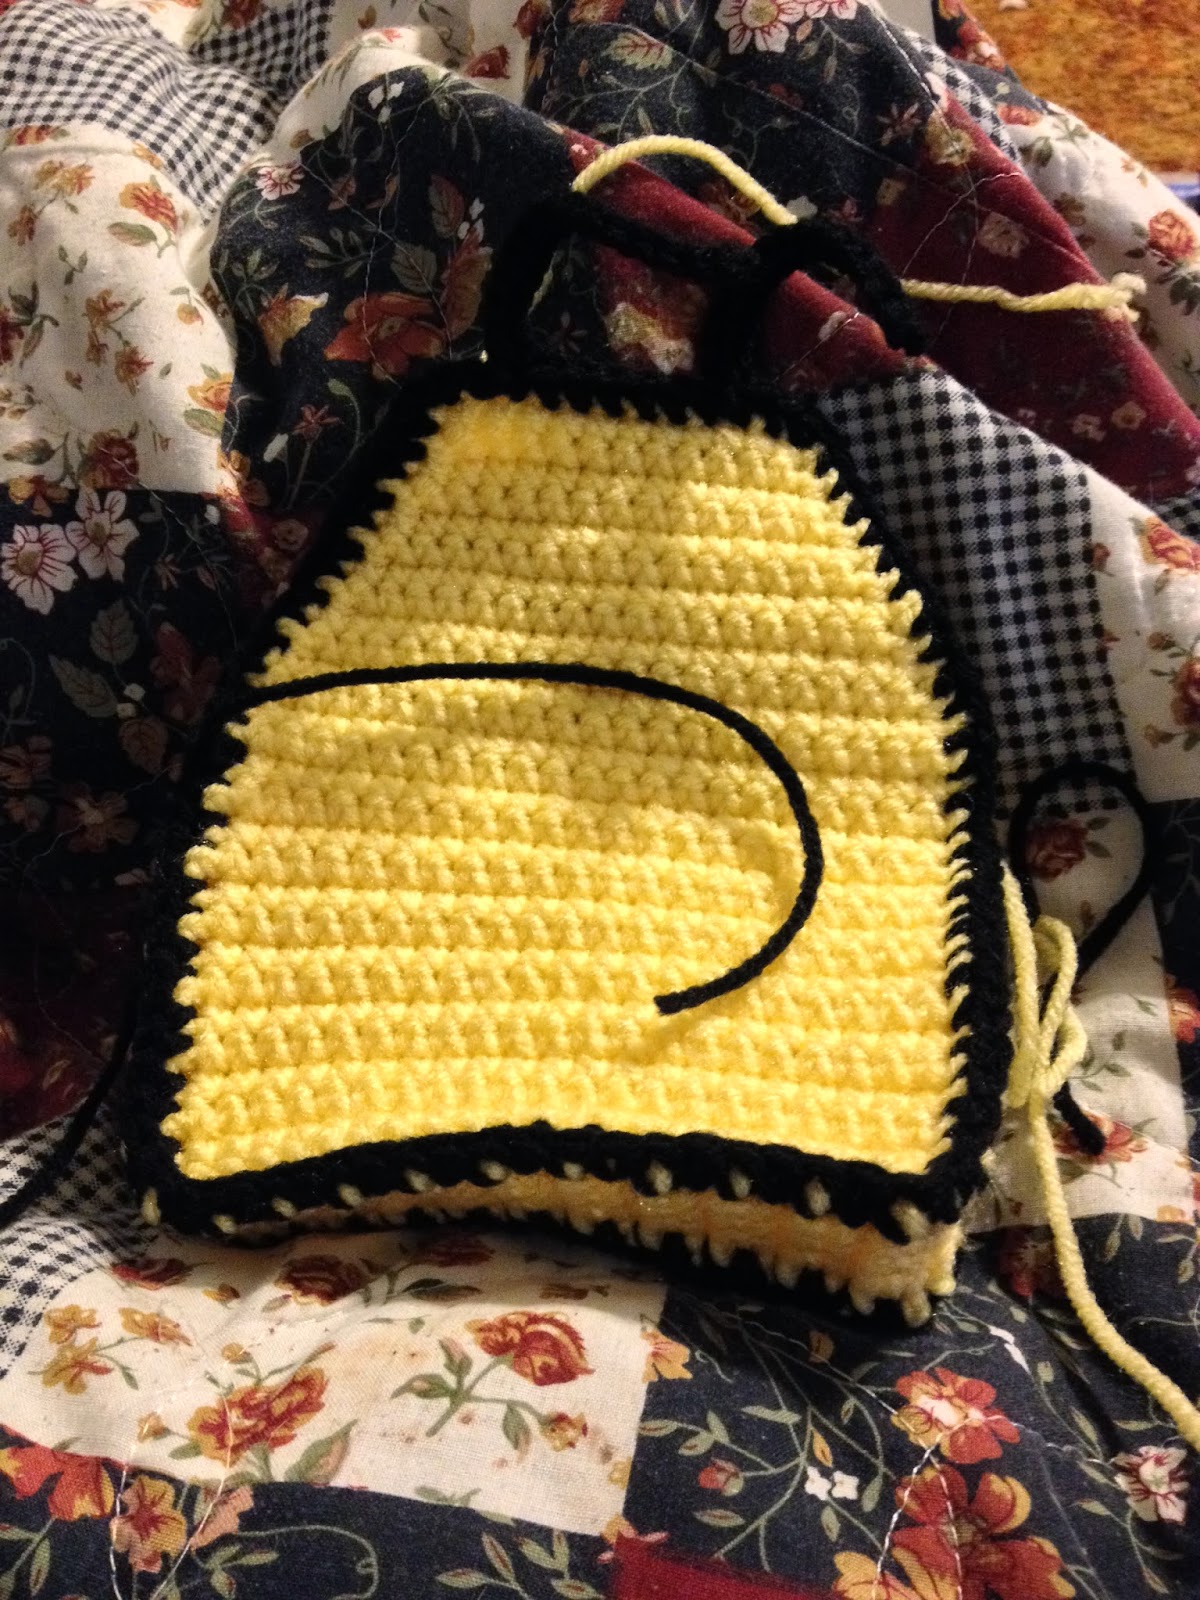
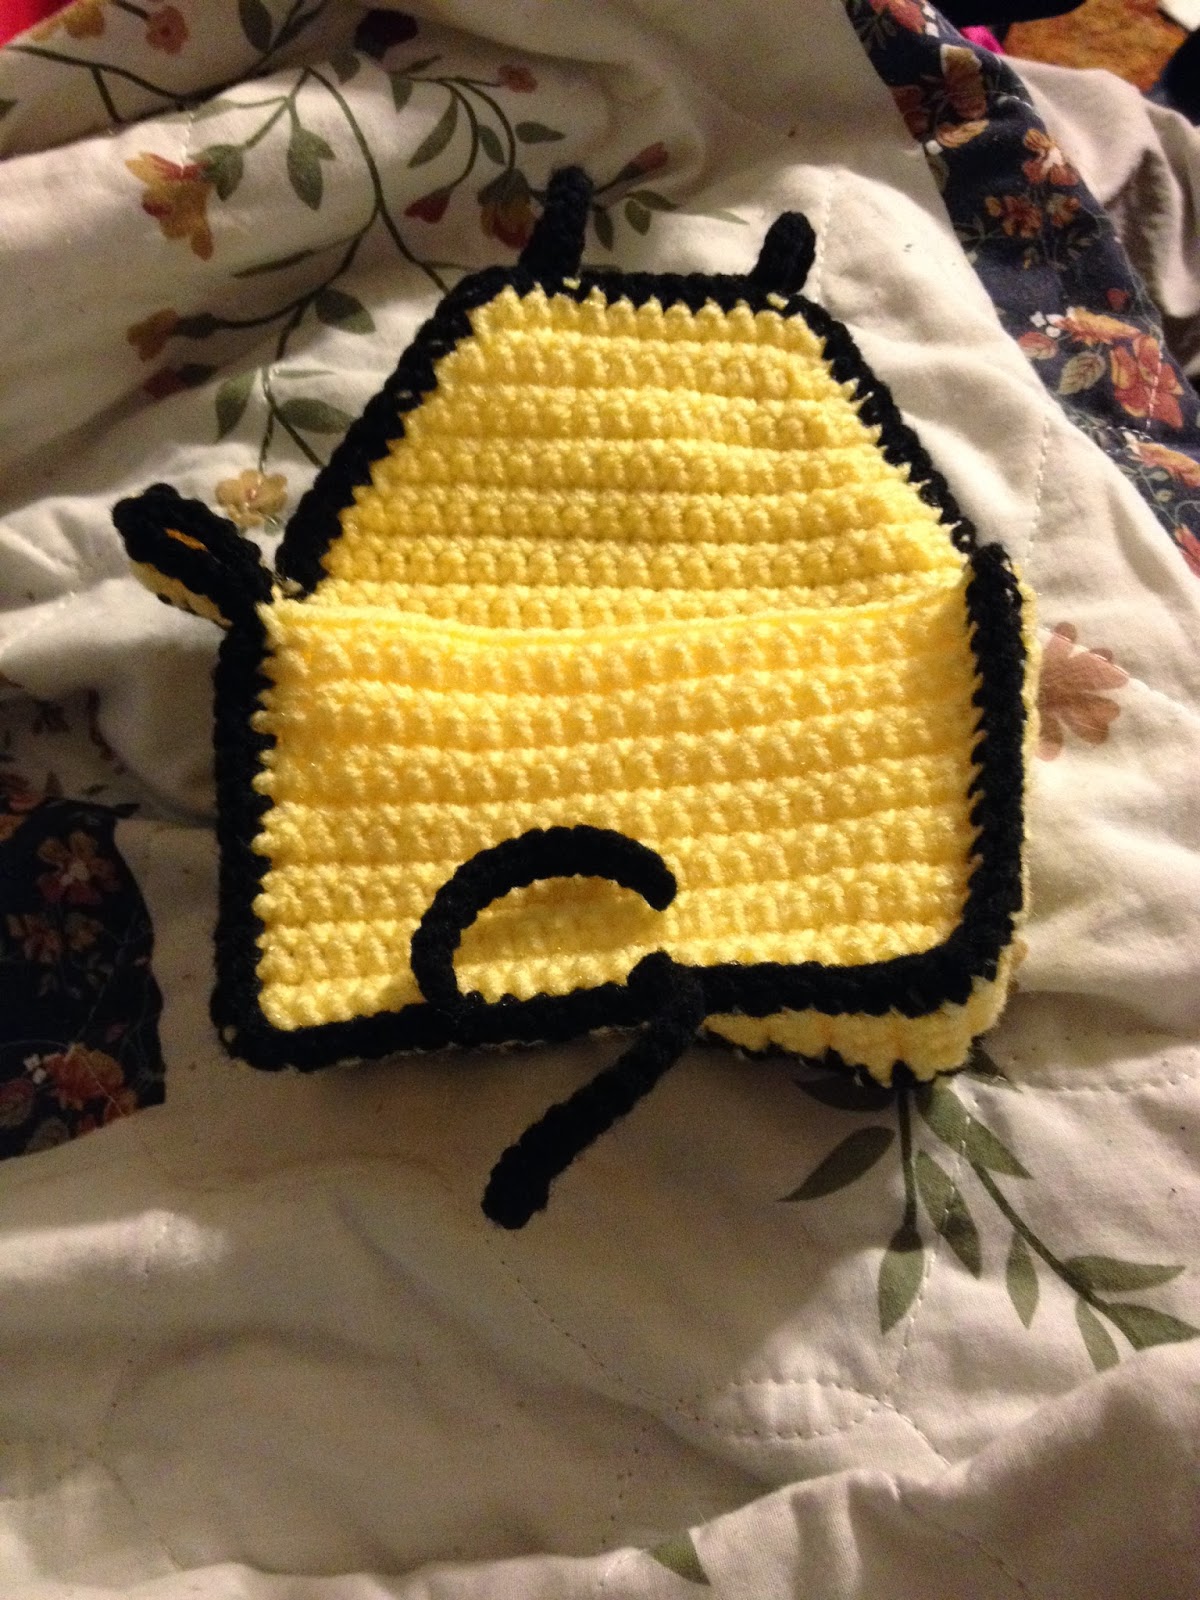
Border/Putting it together:
This is a bit confusing, but I have photos to help you understand what I'm saying here.
In 2nd color, Sc the side strip to the front, F/O.


Repeat with Back starting at row 18. Then sc up the side of the flap, placing 2 sc in 1st coner, sc in next 2, tie down piece (ch 16, slst back down ch, slst back into stitch you chained from), sc until there's 2 sts left, tie down piece, sc in next st, 2sc in last stitch, sc back down flap, slst into 1sc of joining back and side. F/O.


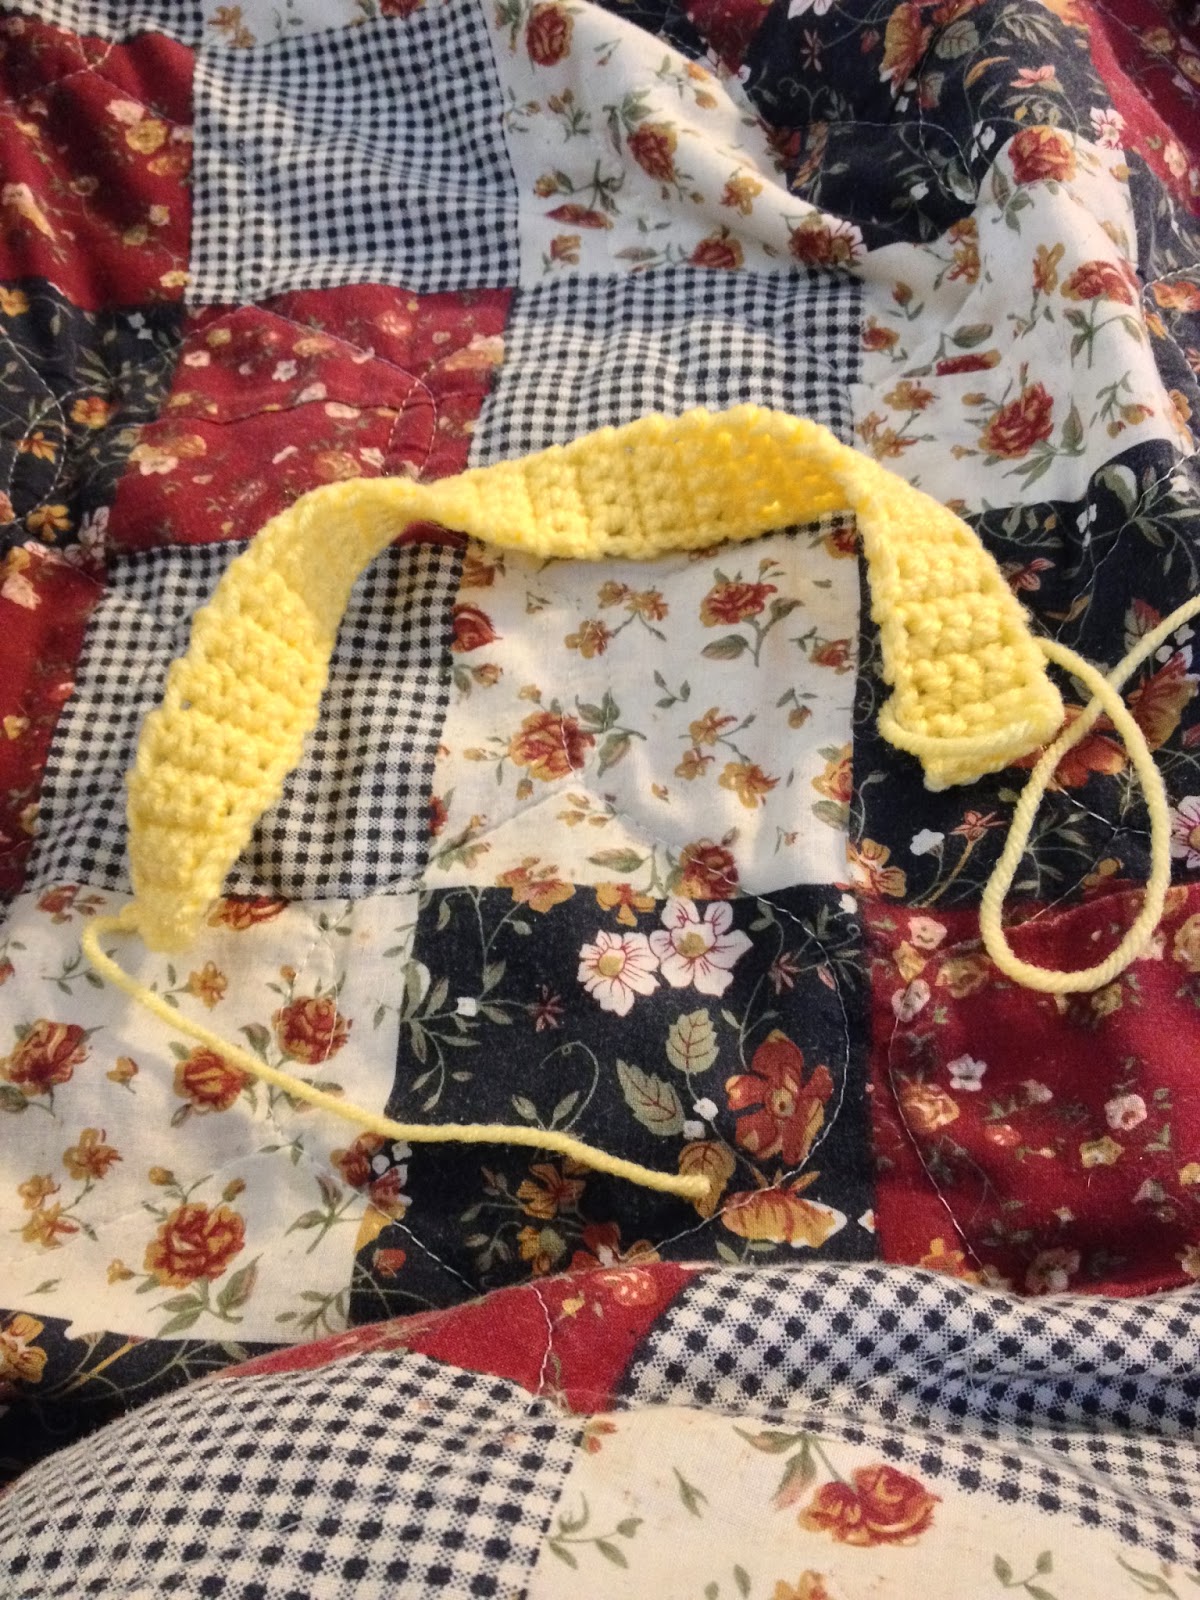
Carabiner Strap: In 1st or 2nd color, ch 5
Row 1-10: Repeat Rows 1-10 of Side Strip. F/O, set aside for now.
If using the 1st color, sc up both sides in 2nd color. If using 2nd color, just sc around the piece.
Side note: Make two of these if you want belt loops, instead. You may have to make this part longer if you wear a wide belt.

Last bit, I swear!
At two different points on the bottom trim of the front, join 2nd color, make a tie down piece, F/O, and weave in your ends.

Tada! You're done! Feel free to add velcro for extra closing power!