Monday, December 9, 2013

Baby Cuttlefish

This pattern was drafted by request of my long time friend, Nick(he just started to crochet this year, and he's already gotten really good!  I'm so proud!).  He wanted to be able to make a key-chain sized cuttlefish, but was having some trouble drafting a pattern.  So, with out further babbling from me, here's the pattern!

Baby Cuttlefish
Materials
G hook
WW yarn in two colors
Stuffing
Tiny-ass Safety eyes, or fabric paint to make eyes


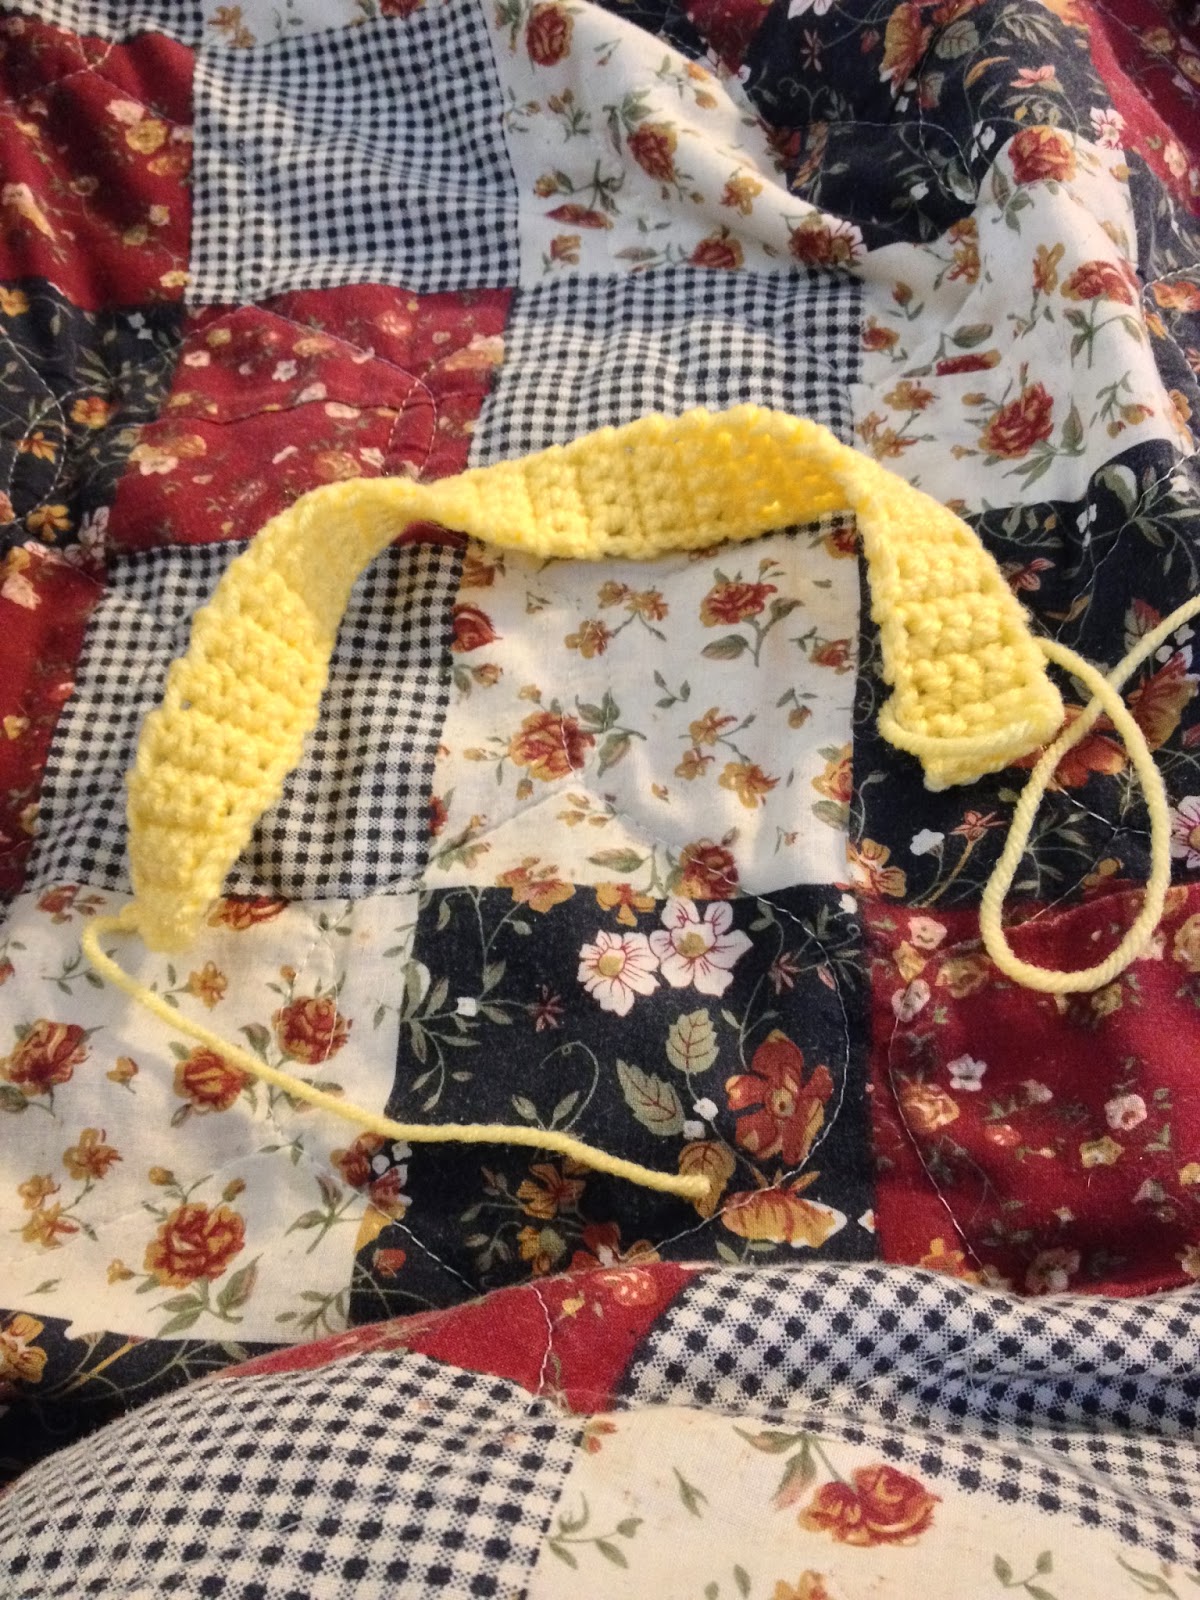
Main Body: (with first color)
Rnd 1: 6 sc in magic ring, or ch 2, 6 sc in 2nd ch from hook (6)
Rnd 2: 2sc in each sc around (12)
Rnd 3: sc in each sc around (12)
Rnd 4: *sc 1, 2sc in next sc* repeat around (18)
Rnd 5-7: sc in each sc around (18)
Rnd 8: sc in the next 5 sc, in back(out-facing) loops only for the next 8 sc, (slip stitch, ch 5, slip stitch back up ch [4], slip stitch back into starting stitch), sc in the last 5 sc. (10 sc and 8 "arms")
Rnd 9: *sc, dec over the next 2 sc* repeat around, treating the front(in-facing) loops as a normal sc. (12) Add the saftey eyes if you're using them, and start stuffing.
Rnd 10: *dec over the next 2 sc* repeat around (6).  Finish stuffing, F/O, sew shut, weave in your end.


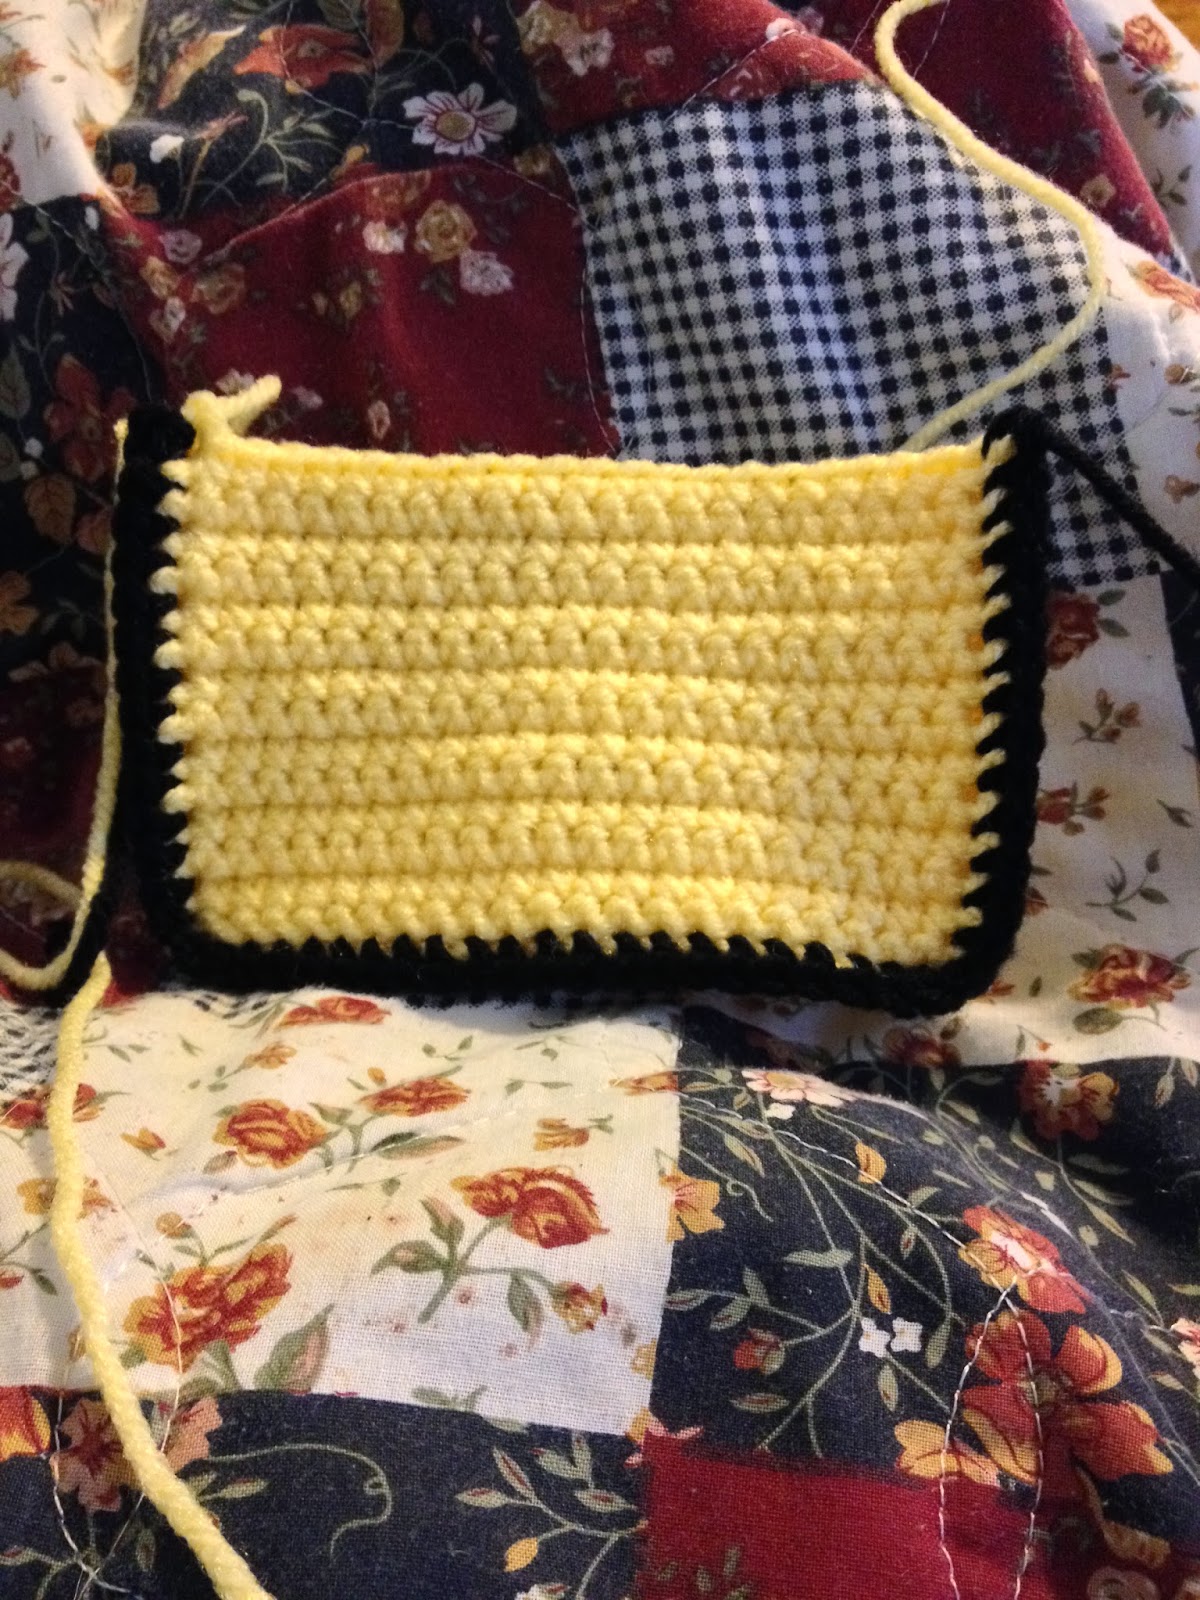
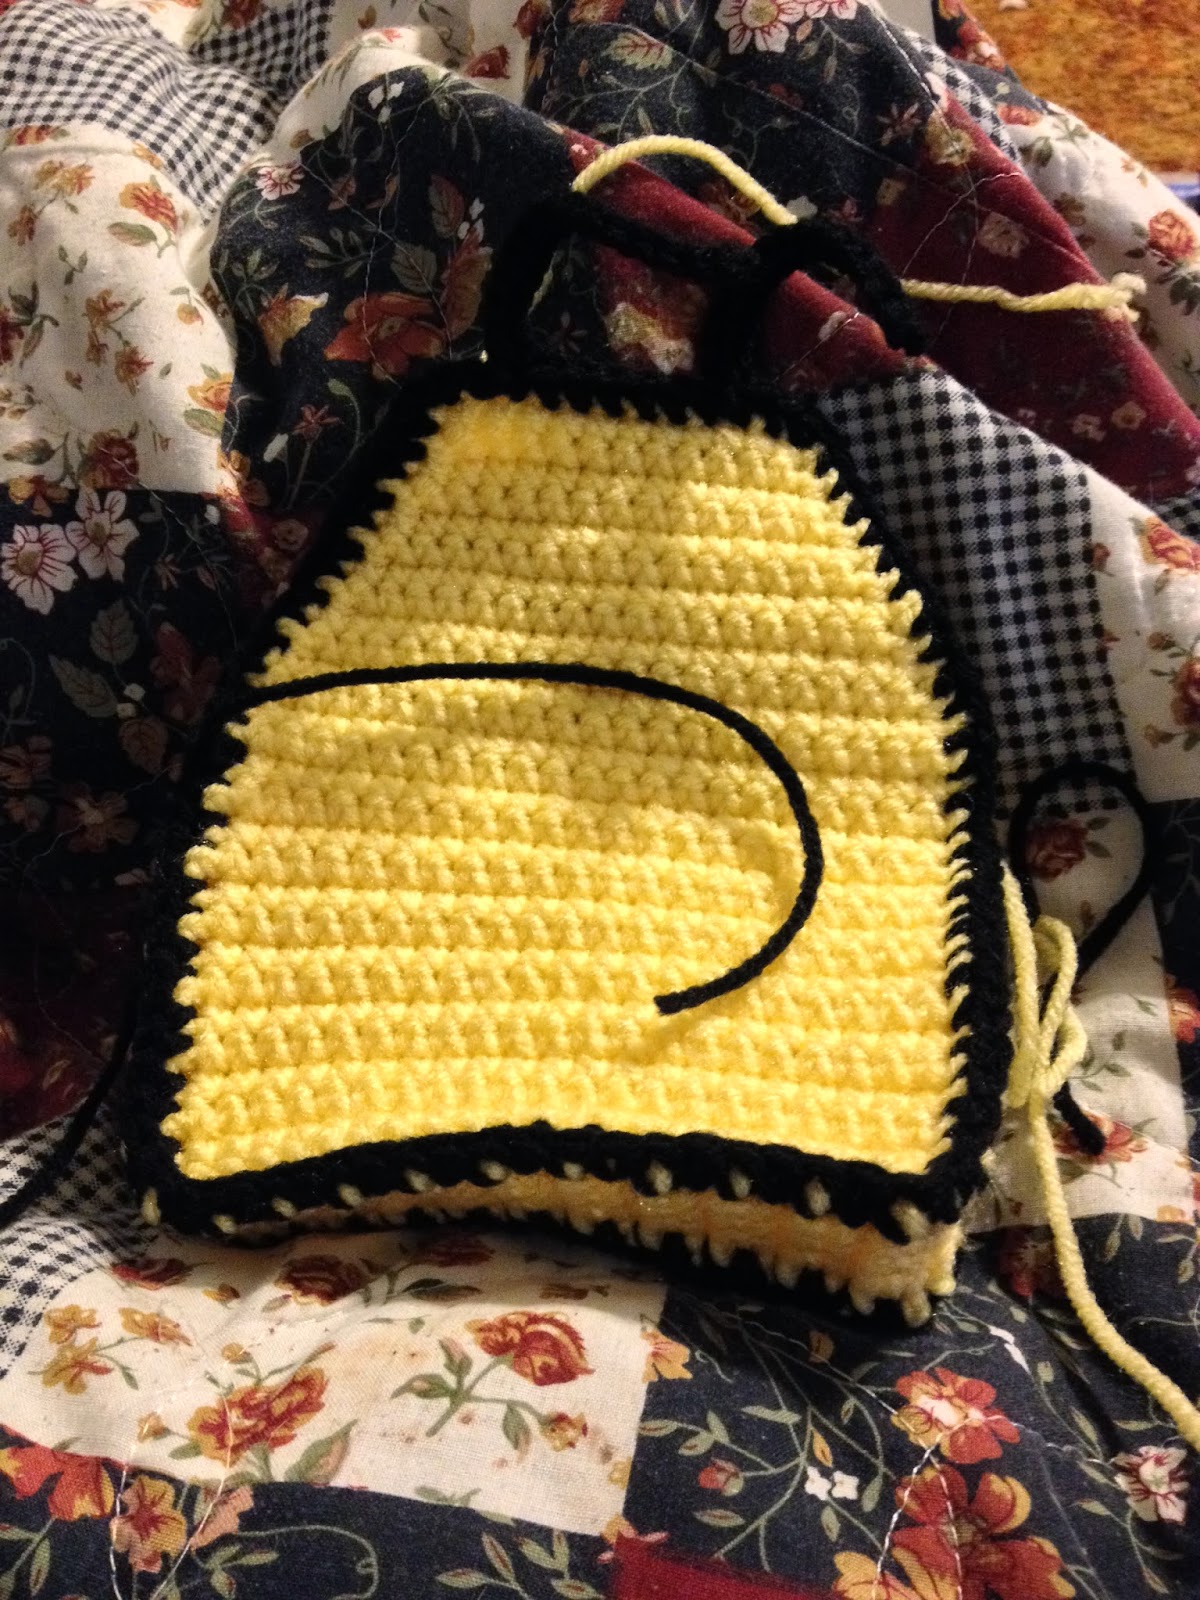
Fins: (with second color, join to main body just under 1st arm)
Quick note, this is a little tricky, but completely do-able.
Row 1: Working up the side of the cuttlefish *5 sc in next stitch, slip stitch in next stitch*  Repeat *-* to other side of the cuttlefish(you should get 7 "scallops").
 Slip stitch to underside, behind 8th arm.  F/O and weave in your ends.  Paint on the face now if you're going that route.
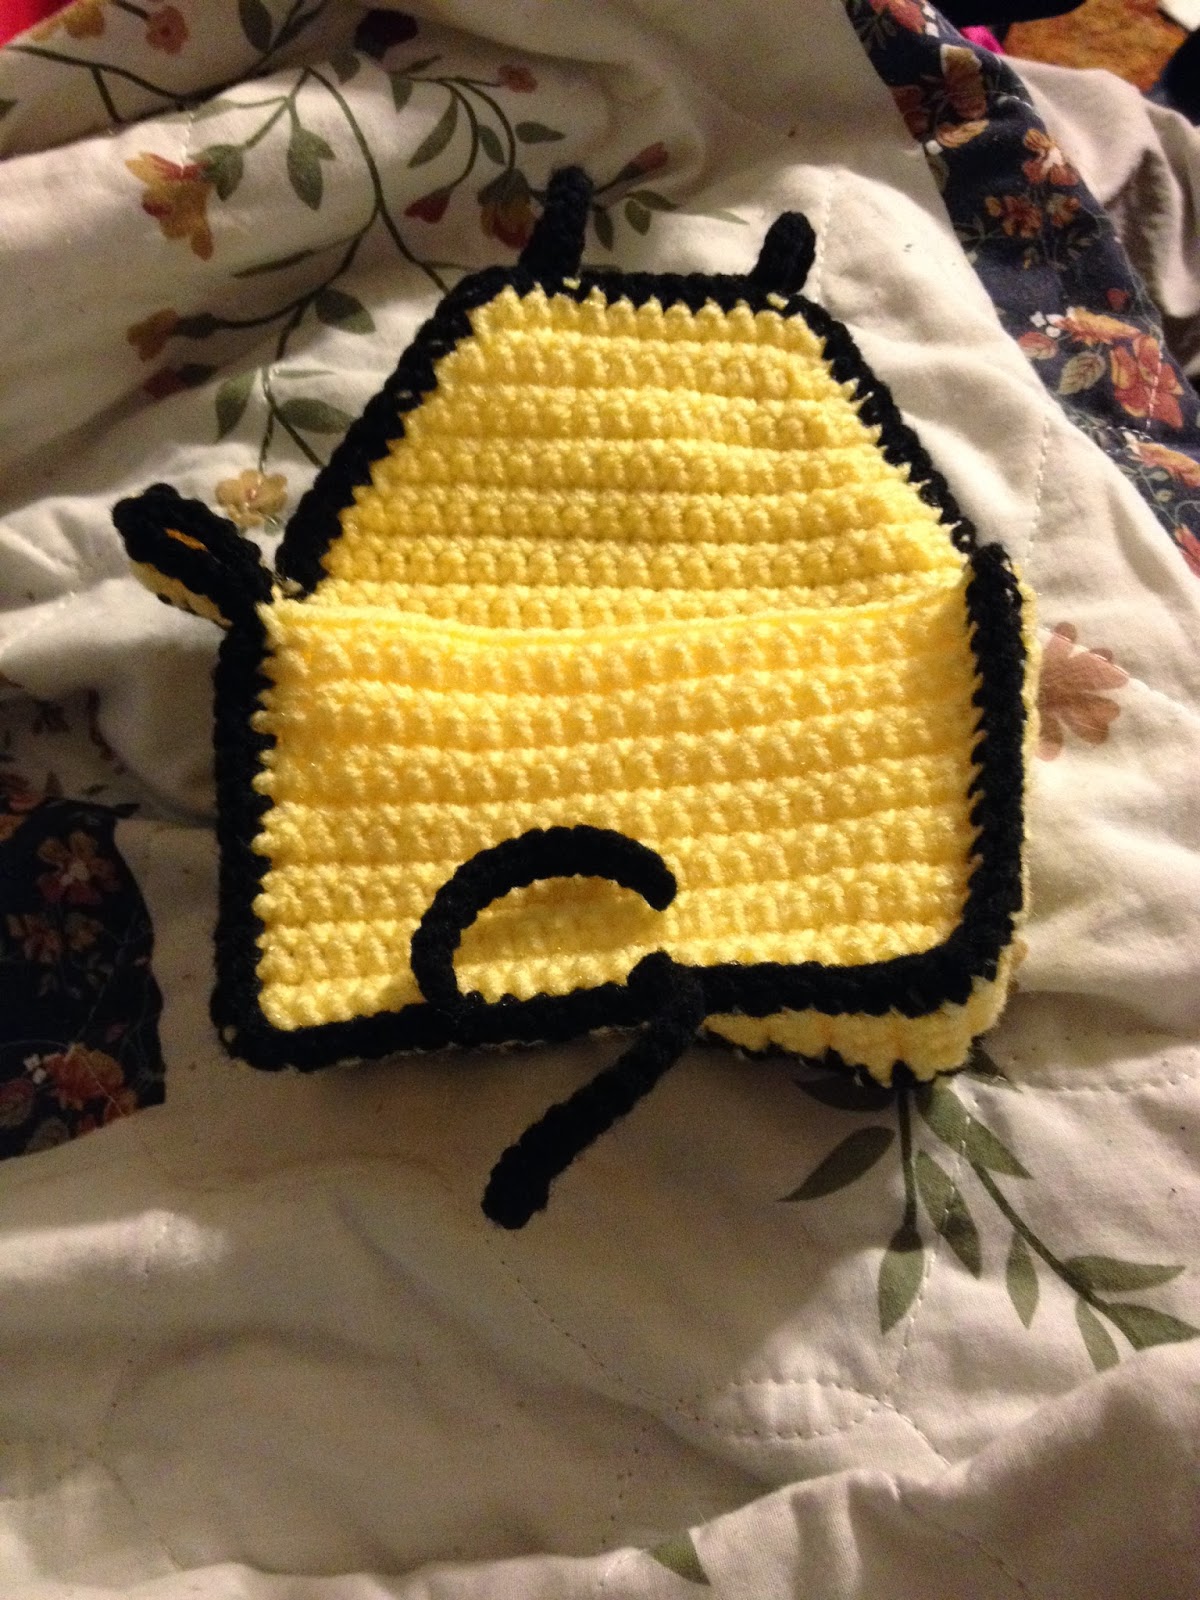
Here's what your finished cuttlefish should look like(please pretend it has a face, I didn't have time to paint one on, lol).

Tuesday, October 29, 2013

3DS XL Carrying Case

Whoot!  A new post already!  It's kinda a re-tread of the last pattern I posted, but I wanted to share this with you anyway!


3DS XL Carrying Case

Materials:
WW yarn in two colors
H hook
Carabiner


Back + Flap:  with 1st color, ch26
Row 1: Sc in 2nd ch from hook and each across, ch 1, turn(25).
Row 2-24: Sc in each sc across, ch 1, turn(25)
Row 25: Dec, sc to last 2 sc, dec, ch 1, turn(23)
Row 26: Sc in each sc across, ch 1, turn(23)
Row 27: Repeat Row 25(21)
Row 28: Repeat Row 26(21)
Row 29: Repeat Row 25(19)
Row 30: Repeat Row 26(19)
Row 31: Repeat Row 25(17)
Row 32: Repeat Row 26(17)
Row 33: Repeat Row 25(15)
Row 34: Repeat Row 26(15)  F/O, set aside for now.


Front: with 1st color, ch 26
Row 1-18: Repeat Rows 1-18 of Back + Flap, F/O, set aside for now.


Side: with 1st or 2nd color, ch 5
Row 1: Sc in 2nd ch from hook and each across, ch 1, turn(4)
Row 2-61: Sc in each sc across, ch 1, turn(4) F/O if working with 1st color.  If working with 2nd color, ch 1, and move on to Border/Putting it Together

Border/Putting it together:
This is a bit confusing, but I have photos to help you understand what I'm saying here.
In 2nd color, Sc the side strip to the front, F/O.


Repeat with Back starting at row 18. Then sc up the side of the flap, placing 2 sc in 1st coner, sc in next 2, tie down piece (ch 16, slst back down ch, slst back into stitch you chained from), sc until there's 2 sts left, tie down piece, sc in next st, 2sc in last stitch, sc back down flap, slst into 1sc of joining back and side.  F/O.


Carabiner Strap: In 1st or 2nd color, ch 5
Row 1-10: Repeat Rows 1-10 of Side Strip.  F/O, set aside for now.
If using the 1st color, sc up both sides in 2nd color.  If using 2nd color, just sc around the piece.
Side note: Make two of these if you want belt loops, instead.  You may have to make this part longer if you wear a wide belt.
Last bit, I swear!

At two different points on the bottom trim of the front, join 2nd color, make a tie down piece, F/O, and weave in your ends.
Tada!  You're done!  Feel free to add velcro for extra closing power!

Thursday, October 24, 2013

3DS Carrying Case

Wow!  It's been a long time since I posted anything over here.  Sorry!  Anyway, I have a fresh new pattern to share with you guys!


3DS Carrying Case

Materials
WW Yarn in 2 colors
H hook
Carabiner


Back and Flap: In 1st color, ch 23


Row 1: Sc in 2nd ch from hook and each across, ch 1, turn (22)
Row 2-18: Sc across, ch 1, turn (22)
Row 19: Dec, sc across to last 2, dec, ch 1, turn (20)
Row 20: Sc across, ch 1, turn (20)
Row 21: Repeat Row 19 (18)
Row 22: Repeat Row 20 (18)
Row 23: Repeat Row 19 (16)
Row 24: Repeat Row 20 (16)
Row 25: Repeat Row 19 (14)
Row 26: Repeat Row 20 (14)
Row 27: Repeat Row 19 (12)
Row 28: Repeat Row 20 (12)
F/O, set aside for now.


Front: in 1st color, ch 23
Row 1-14: Repeat 1-14 of Back and Flap piece.  F/O, set aside for now.


Side Strip: In 1st color, ch 5
Row 1: Sc in 2nd ch from hook and each across, ch 1, turn (4)
Row 2-50: Sc across, ch 1, turn (4)


Carabiner Strap: In 1st color, ch 5
Row 1-10: Repeat Rows 1-10 of Side Strip.  F/O, set aside for now.
Side note: Make two of these if you want belt loops, instead.  You may have to make this part longer if you wear a wide belt.


Border/Putting it together:
This is a bit confusing, but I have photos to help you understand what I'm saying here.
In 2nd color, Sc the side strip to the front, F/O.


Repeat with Back starting at row 14. Then sc up the side of the flap, placing 2 sc in 1st coner, sc in next 2, tie down piece (ch 16, slst back down ch, slst back into stitch you chained from), sc until there's 2 sts left, tie down piece, sc in next st, 2sc in last stitch, sc back down flap, slst into 1sc of joining back and side.  F/O.


Now's a good time to go ahead and start weaving in ends.

In 2nd color, sc up both sides of Carabiner Strap, then sew onto one of the sides of the case.  If making belt loops, sew onto the back, neer the top and evenly spaced apart.

Last bit, I swear!

At two different points on the bottom trim of the front, join 2nd color, make a tie down piece, F/O, and weave in your ends.

Tada!  You're done!  Feel free to add velcro for extra closing power!

Tuesday, May 14, 2013

Simple Knitted Wash Cloth

Okay, I know I said I was going to post more often, and I'm sorry for not doing so.  I've just been a mix of tired, wired, unmotivated with inspiration, and motivated with out inspiration.

At least I've started posting again.

And with all this, I bring you my first knitting pattern!  It's not anything to write home about in the looks department, but one of these with a good dish liquid will get your dishes looking lovely.

Please keep in mind that I've never written a knitting pattern before, so if I screw up, please let me know!


Simple Knitted Dish Cloth Pattern

What you'll need:

  • Cotton WW yarn
  • Size 10 knitting needles
  • J hook(optional for casting off, as it's much easier for me to use one)
  • Tapestry needle for weaving in ends


Cast on 30, knit until you have 24 ridges of garter stitch, cast off, ch 15, reattach to wash cloth(The J hook really helps with the chaining bit for me), F/O, weave in ends.

Tuesday, April 9, 2013

Did ya miss me?

Hey!  Sorry I've gone so long without posting!  Life's been crazy, blah, blah, yeah.  Anyway, I'm going to try and post weekly, even if it's just "look what I made this week!" kind of stuff.

The start to this will be today, and it's gonna be some catching up.

First off, I taught myself how to knit!  And I made this!  Yes, the Tom Baker 4th Doctor scarf!  It has it's flaws, but I did it!  Yay!
Next up, things I made for Christmas gifts!  Hats for the nephews!  They loved them, by the way.

I also made a scarf for my brother's girlfriend.  With the way things are going between them, I think I'll be
getting a sister-in-law here soon!

Next, random things I've made!

Wolverine Fingerless mitts!  Yes, the butter knives are needed for the photo.


Captain America mitts.  My mom called them Texas Flag mitts.


Black Widow mitts!  I think these came out the best of the bunch.


Hat I made for my hubby.  Skunk "skin" hat.  If you understand why, you get an internet cookie.

This was meant for a smaller lady dog, but it ended up too big.  So Yoshi got a sweater!

Meet Pearl!
I think that's enough for now.  See ya next week!